
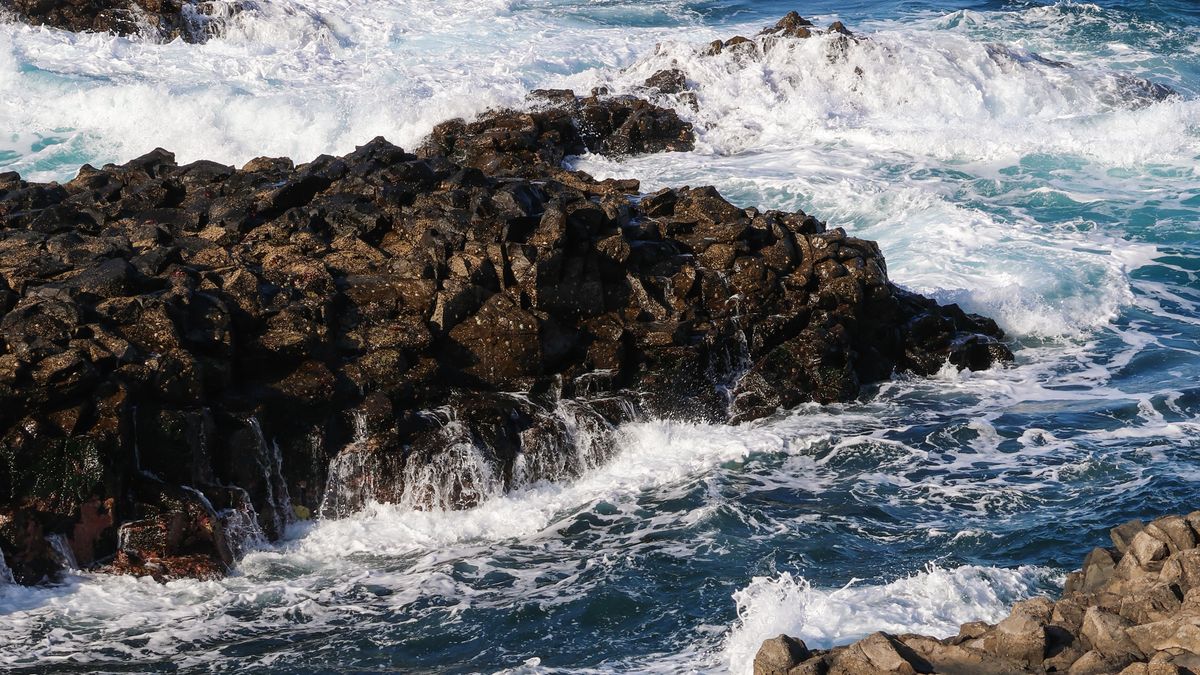
Rocky shorelines are among the most generous subjects in the British landscape, but only for those willing to set an alarm that feels unreasonable. At midday, dark granite, slate and basalt absorb light and flatten into silhouettes. An hour after sunrise, the same rocks become a study in texture: every fissure, barnacle cluster and damp ledge catches the low sun and throws a small shadow that reveals shape.
The physics is simple. Low sun means light travels through more atmosphere, losing some of its harshness and picking up the warm tones that make coastal photographs glow. Add a rising tide and a bit of swell, and you get spray catching that light — a backdrop no studio can imitate. Rocky shorelines reward patience more than gear, so plan two visits: one for the dawn light, one for the dusk. You will learn which faces of rock catch which light, and that knowledge is worth more than any new lens.
Coastal walks and photography are governed by tide tables, not by inspiration. Before you leave the house, check the tide times and heights for the nearest standard port, then look at the shape of the beach on a map or satellite view. A falling tide on a spring low exposes the most rock and the most foreground interest; a rising tide brings energy but will push you back up the beach sooner than you expect.
Give yourself an escape route. Note a set of steps, a slipway or a path above the high-water mark before you commit to a ledge, and never let a wave cut you off from it.
A tripod is not optional. In low light you will be working with shutter speeds measured in seconds, and no amount of steady breathing will match a tripod on wet stone. Choose one that lets you splay the legs independently, so you can level it on uneven rock, and hang your bag from the centre column if the wind is up.
This is the single most useful habit on a rocky shore. Dark rocks tempt you to brighten the scene, but if you expose for the shadows the sky blows out and the sea turns to white mush. Instead, expose for the brightest part of the frame that you want to keep detail in — usually the sky near the sun, or a sunlit wave crest.
Switch to manual mode and check the histogram. You want the highlight end sitting close to the right-hand edge without clipping. If your camera has highlight warnings, or "blinkies", turn them on; a few flashing specular highlights on wet rock are fine and often attractive, but large flashing patches in the sky mean lost data you cannot recover.
With your exposure set for the sky, the rocks will look too dark on the back of the camera. That is expected — lift them gently in editing rather than in the field. A graduated filter can bridge the gap if the difference is more than about three stops. Bracketing three frames a stop apart is a sensible insurance policy when the contrast is extreme, and modern software blends them cleanly.
For depth of field, try f/11 to f/16 and focus roughly a third of the way into the scene. If the swell is lively, a shutter speed of half a second or longer will smooth moving water into a soft veil, while a fast shutter freezes spray into glassy droplets. Both are valid; decide which story you want to tell.
Britain's rocky coasts are layered with human history, and those traces make strong photographs. Look for the low walls of old lime kilns, ruined coastguard cottages, stone slipways worn smooth by a century of boots, and the remains of chapels perched above the tide. These elements anchor a landscape in time and give the viewer something to wonder about.
Place them deliberately. A harbour wall running diagonally into the frame leads the eye towards the light. A single figure on a distant path gives scale to an enormous headland. Resist the urge to make the ruin the whole picture — let the light and the sea do the heavy lifting while the building whispers at the edge of the frame.
Tell someone where you are going and when you expect to be back. Check the weather and swell forecast, not just the tide. If a wave has soaked your boots once, move higher; the next set is usually bigger. Keep off wet green weed and never turn your back on the sea.
Finally, tread lightly. Do not move stones, prise limpets from rock, or disturb nesting birds between March and July. Take your litter home, including the stray bits of fishing line that always seem to find a beach. The finest light on a rocky shoreline is the kind you can return to for years, and that depends on leaving it exactly as you found it.

Hi, my name is Anthony kuber. I am artist and fashion designer.
I love to travel and writing blogging.
Your email address will not be published. Required fields are marked *
Software Developer & Writer
Hey, I'm Diva, a developer and writer blending code and creativity. I'm driven by a deep curiosity and a relentless pursuit of excellence. Join me as I craft digital solutions and captivating stories.


